|

---> Instructions PDF File <---
Original Magic Switch

Magic Switch Pro

Magic Switch Pro V2
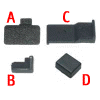
Magic Switch Pro V3
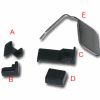
1) Here you can see the 3 parts to the slim tools. They are lettered A, B and C on the picture below.
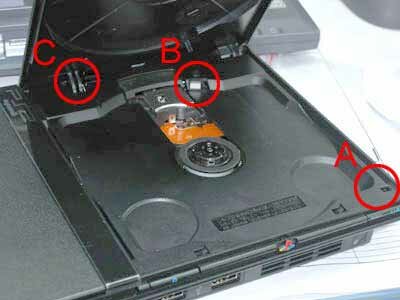
2) On the picture above you can see the console front view opened. Here you can see where each tool takes its place.
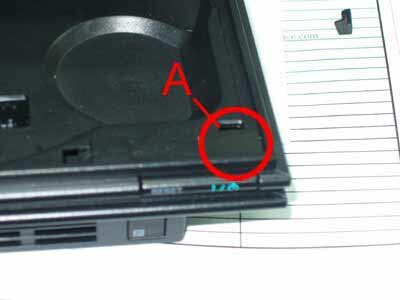
3) Take the Tool A and remove the back sticker. Place it directly down, flat, as shown above. The protruding flap will depress the small switch and hold it down, in place. Please, think this step through before removing the back sticker. (The sticker is a one shot deal..) Not very hard at all.
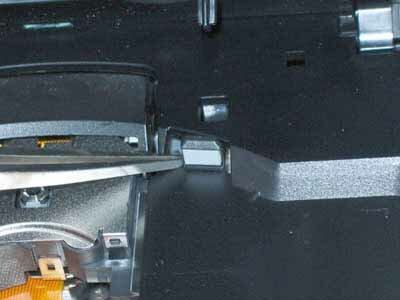
4) Now its time to set the Tool B. Move the disk break to the right and hold it.
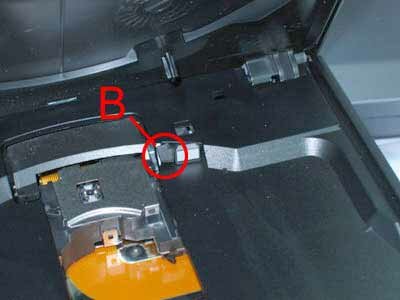
5) Then, insert the Tool B in the place on the picture above. Tool B serves as a wedge to keep the disk break from returning back to its normal position.
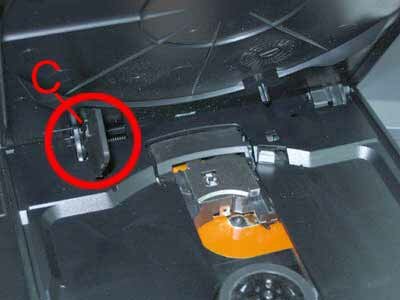
6) On the left hand side you can see the position for Tool C. Place Tool C in the gap. You may need to press the inner tabs in as you insert the piece downward. As a result your console is ready for playing your imports.
With the original Magic Switch Installed, the PS2 lid will not close. Magic Switch Pro , Pro V2 and Pro V3 are designed to close. If, after you install all 3 pieces and the PS2 will not spin your disks, recheck your pieces- if the A and C pieces are not properly depressing their switches then the PS2 will think the cover is up and it will not spin the disk.
Whoa, slow down. Here's a picture of the new Pro Part C in place and working:
Note it goes in the slot to the right of where the old Part C used to go...
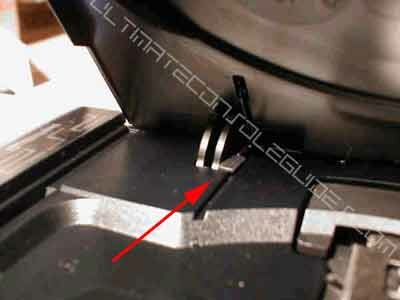
Here's a couple extra close-ups of the pieces in action...


Notes on Piece D
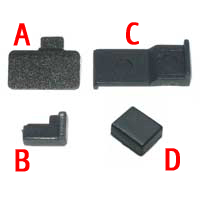
You can see that a mew piece D has been added into the Magic Switch pack. This small piece is specially designed for the latest model of PS2 Slim, such as, Ceramic White and Satin Silver. Since the "Tool C" (the biggest parts of the Magic Switch Pro) can not be inserted into the new model of PS2 Slim, you need to install Tool D instead of Tool C to load imported/backup games on PS2 Slim. Here is the installation guide of Tool D. Unfortunately, you will have to open up the Slim PS2 to get part D installed.
Piece E had been added as an alternative to piece C or D. Should piece C not fit your version of PS2, you can use piece E. Please note, piece C, D and E all cover the same sensor. You only need to place 1 of the three. Place either piece C, piece E or Piece D- which ever fits your version.
|